
Connect Python to GNS3 for Automation in Win10
In this lab we will learn how to program Python (version 3) to telnet to GNS3 router in Windows 10 and do some configuration commands like create an interface on GNS3 router.
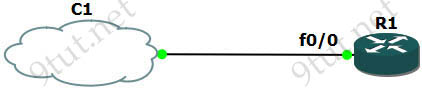
Our topology is very simple with only R1 router and a cloud (represented our real laptop/desktop). But please do not create a cloud now as we need to configure a Microsoft Loopback Adapter for it first so please follow the steps below.
1. Install the “KM-TEST Loopback Adapter” in Win10
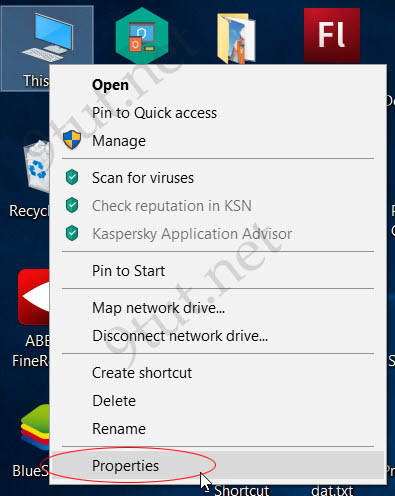
Right-click on “My Computer” choose “Properties”.
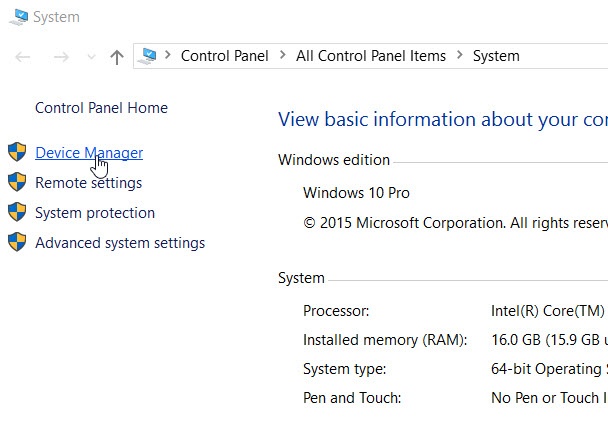
Under “System” dialog choose “Device Manager”
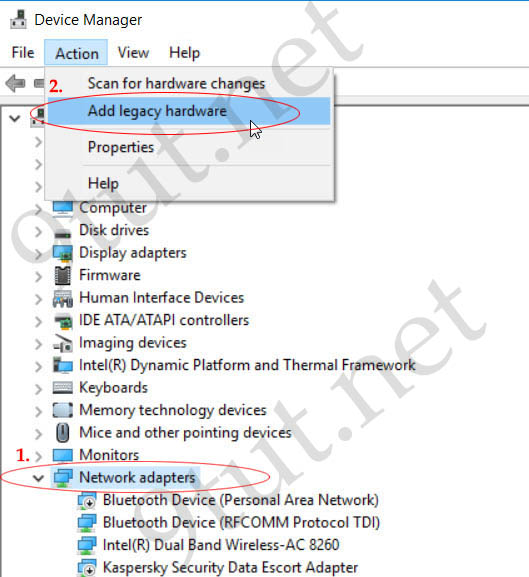
Under “Device Manager” dialog choose “Network Adapters” then click on “Action” menu and choose “Add legacy hardware”.
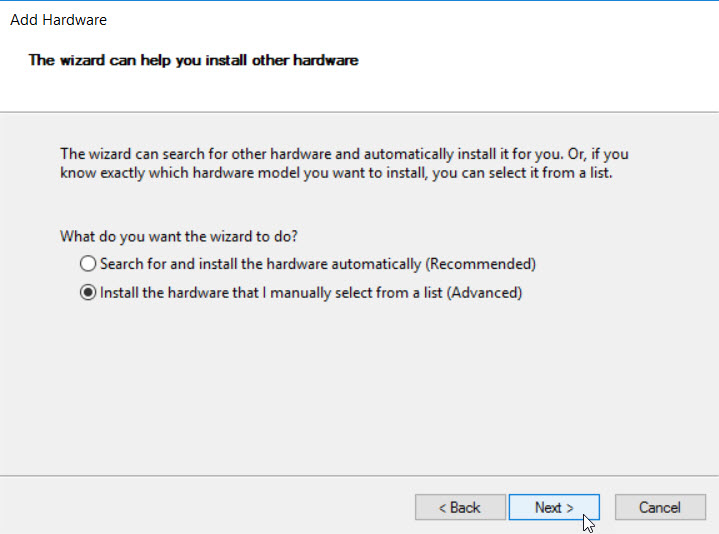
Choose “Install the hardware that I manually selection from a list” option
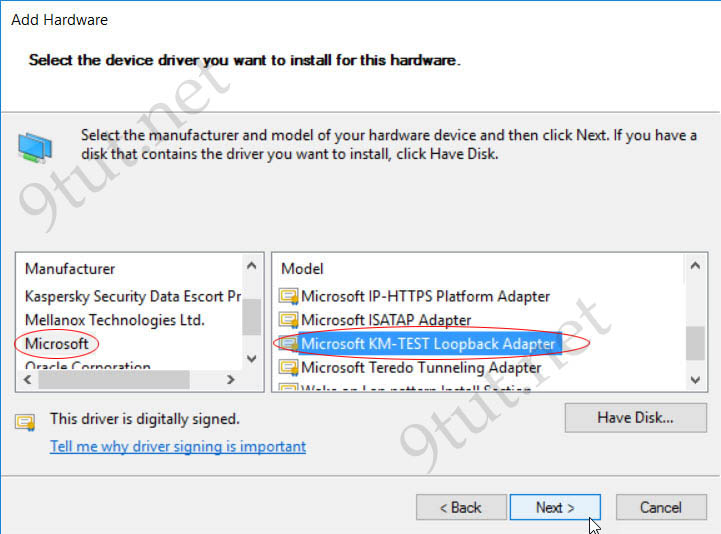
Wait for a moment so that Windows loads a list of driver. Then we choose “Microsoft” under “Manufacturer” list and choose “Microsoft KM-TEST Loopback Adapter” under “Model” list:
Wait for a moment so that Windows can install this loopback adapter for you. Now open Control Panel > Network and Sharing Center > Change adapter settings we will see a new interface has been installed.

In the next part we will assign an IPv4 address to our new loopback interface.
2. Configure our router with IP address of 10.1.1.1/24 on the interface that is connected to our cloud.
Now we can open GNS3 and create a topology that we posted earlier:
Open R1 and configure it as follows:
Configuration on R1:
| R1#configure terminal R1(config)#username R1 password 12345 R1(config)#enable secret cisco R1(config)#interface FastEthernet0/0 R1(config-if)# ip address 10.1.1.1 255.255.255.0 R1(config-if)# no shut R1(config-if)#line vty 0 4 R1(config-line)#login local |
We have just created an username and password for the telnet lines and create a secret password of “cisco” to enter privileged mode before doing some configuration. Notice that the last line “login local” instructs our router to use the local username/password for authentication on VTY (telnet) lines.

Хорошая статья
Where are you?