
Connect Python to GNS3 for Automation in Win10
3. Assign an IPv4 address to the new loopback interface
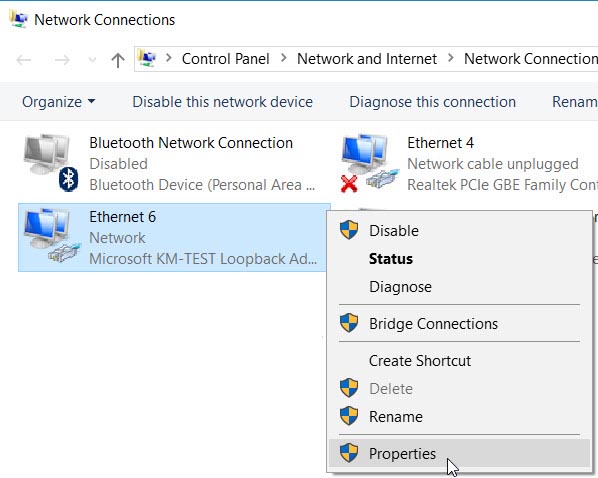
We need to assign an IPv4 address for this interface so right-click on this icon and choose “Properties”.
Double click on “Internet protocol version 4”:
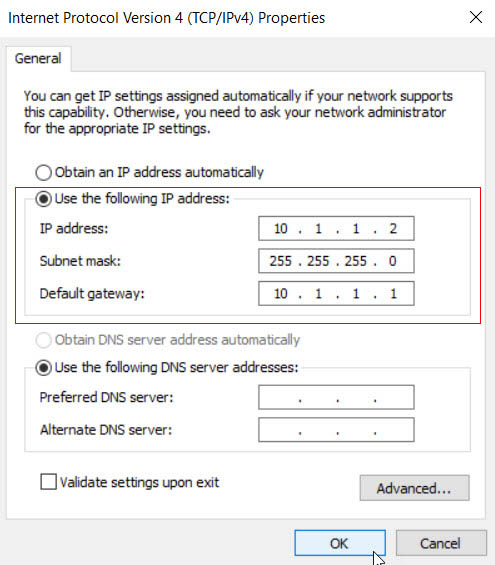
Now we need to assign an IPv4 address that is on the same subnet with R1 (10.1.1.1/24) above. So we will assign 10.1.1.2/24 for this loopback interface.
In fact we don’t need to assign the “Default gateway” as currently we just want our real laptop to communicate with the virtual router in GNS3.
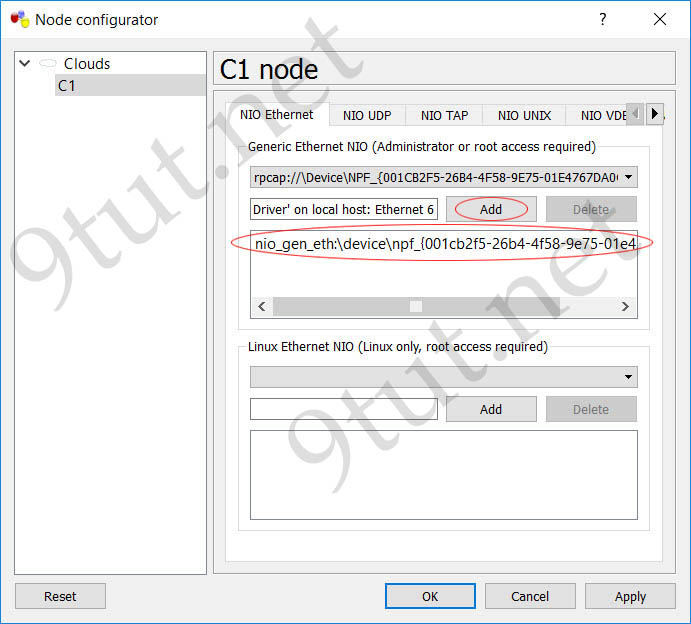
Now start GNS3 and create a “Cloud” node and right-click, choose “Configure”. We will see our new created Loopback interface there. Click “Add” button to add it to our “Cloud”.
So we successfully assign IPv4 address of 10.1.1.1/24 for our virtual router R1 in GNS3 and assign IPv4 address of 10.1.1.2/24 (which is on the same subnet) for our Loopback interface on our real laptop. Let’s make some verification in the next step.
3. Verify the connection between our laptop and router in GNS3
We should verify if the ping works well between them so we should ping from R1 to our loopback interface and vice versa.
+ Ping from Loopback interface to R1:
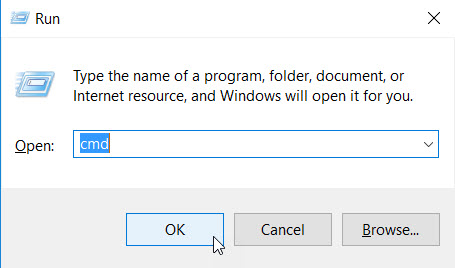
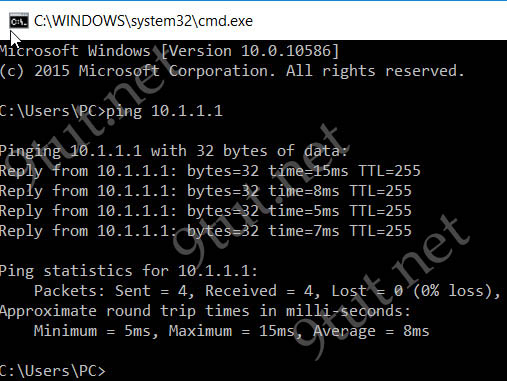
Open command prompt in Win10 (press Windows + R) to open “Run” dialog and type “cmd”:
Now type “ping 10.1.1.1” which is the IPv4 address of FastEthernet0/0 on the virtual router. The ping should work.
+ Ping from R1 to Loopback interface:
Next we jump back to R1 and type “ping 10.1.1.2” which is our loopback interface IPv4 address. The ping should also work:

We can turn on ICMP debugging on R1 with the command “debug ip icmp” to see if the ICMP packets go to the correct place.
Note: The ping from R1 to loopback interface may not work if you are running an antivirus software or use Windows Firewall so please make sure to disable your antivirus software or firewall in this case.
Everything is now ready for our Python code, which we will learn in the next part.

Хорошая статья
Where are you?